Saige Week- Make Your Own Easy To Store DIY Hot Air Balloon!
11:32 AM
So yesterday, I asked you what you would like to see in Saige Week. When Claire and Eunice Zhang asked me to do crafts, I'm pretty sure they weren't expecting a crazy DIY (ish) Hot Air Balloon. I'm handing this project over to momma because she made this.
Hi everyone! To be able to do this project, you will need basic experience with a sewing machine. If you don't have a sewing machine, you can hand sew, but it will take a LONG time. Just FWI. This is a great project to do if you are just learning to sew, because it is simple enough and you only need the bare basics. It's fun, because you can incorporate different techniques into it so you can learn something new also!
I also understand that not everybody knows how to sew, so you could also use fabric glue for this project too.
Now, onto what you need:

- Storage Boxes, meant to go shelves, etc. We got ours at Home Depot.
- Fluff, lots of fluff.
- Fabric-scraps, anything you can find. Old t-shirts work as well.
- Bag Clip
- (not pictured) push pin
- (not pictured) sewing machine or needle and thread
- (not pictured) basic sewing supplies- pins, measuring tape, etc.
- (not pictured) duck tape (any color)

First off, your going to want to set up your storage box.

Make sure your doll can fit inside too.

Our box was large enough to fit 4 dollies in!

Then, pick two large pieces of fabric.

Put your doll on top of one, and cut it out so it comes to about her knees. This is part of the balloon, so make sure the top is a semi- circle.

Like so!

Then, take another large piece of fabric,

place the first balloon piece on top and cut out a second one. We choose different fabrics, but you could use the same one. Now, set the second (the back) piece aside. In our case, it would be the traingle-ular fabric. We'll use it again later.

Then, go through your scraps! This part is COMPLETELY optional! This is just how we customized ours-you can do yours any way you'd like!

You can start by making some long strips. Make sure these overlap the original fabric a bit.

Take the first strip,

pin it down,

and sew.

Repeat one strip at a time for all the strips. Make sure you sew the whole strip- sides n' all!

Then, you can use your scrap fabric to make some crazy wacky shapes, (again, great for learning how sew, cut our circles and practice sewing around curves, cut triangle and squares, practice with them too!) we went a little crazy, but we like it that way. It looks like this balloon has been through a lot and has a lot of memories. ;) Pin down the scraps, then sew them on around the edges.

We used this pillowcase and fabric marker,

to trace out a large "S" for Saige, we cut it out,

pinned it on and sewed it!

Then from the fabric you used for the BACK of the balloon and some other random fabric, cut out two same sized triangles, fairly large. Leave the top of the triangle flat. Pin them good side to good side together, and leave the bottom of the triangle OPEN. DO NOT SEW THE BOTTOM CLOSED. Flip it right side out and set aside.

Once done decorating, you are going now get the back piece of fabric out, and place both sides good side to good side. Leave a hole in the middle of the bottom so that you can fit the triangles through later, and leave most of the top open.

Pin, and sew.

Now, flip right side out,
Take the triangle piece back out again. Make sure the fabric you used for the back of the balloon is on the back side. Place it inside the hole on the bottom.

Sew the hole up with the triangle piece inside.

Now, the fun part! Get out the big bag o' fluff, and start stuffing! Stuff through the hole you left in the top.

Once finished stuffing,

Take the opening, (you can sew this closed with a needle and thread, but that is optional)

And, place the clip on top.

You are then going to need to measure how long you want the strings to be to hold the basket up. I put the basket on the floor, and held the balloon at the edge of a table and measured, leave extra to tape to basket.

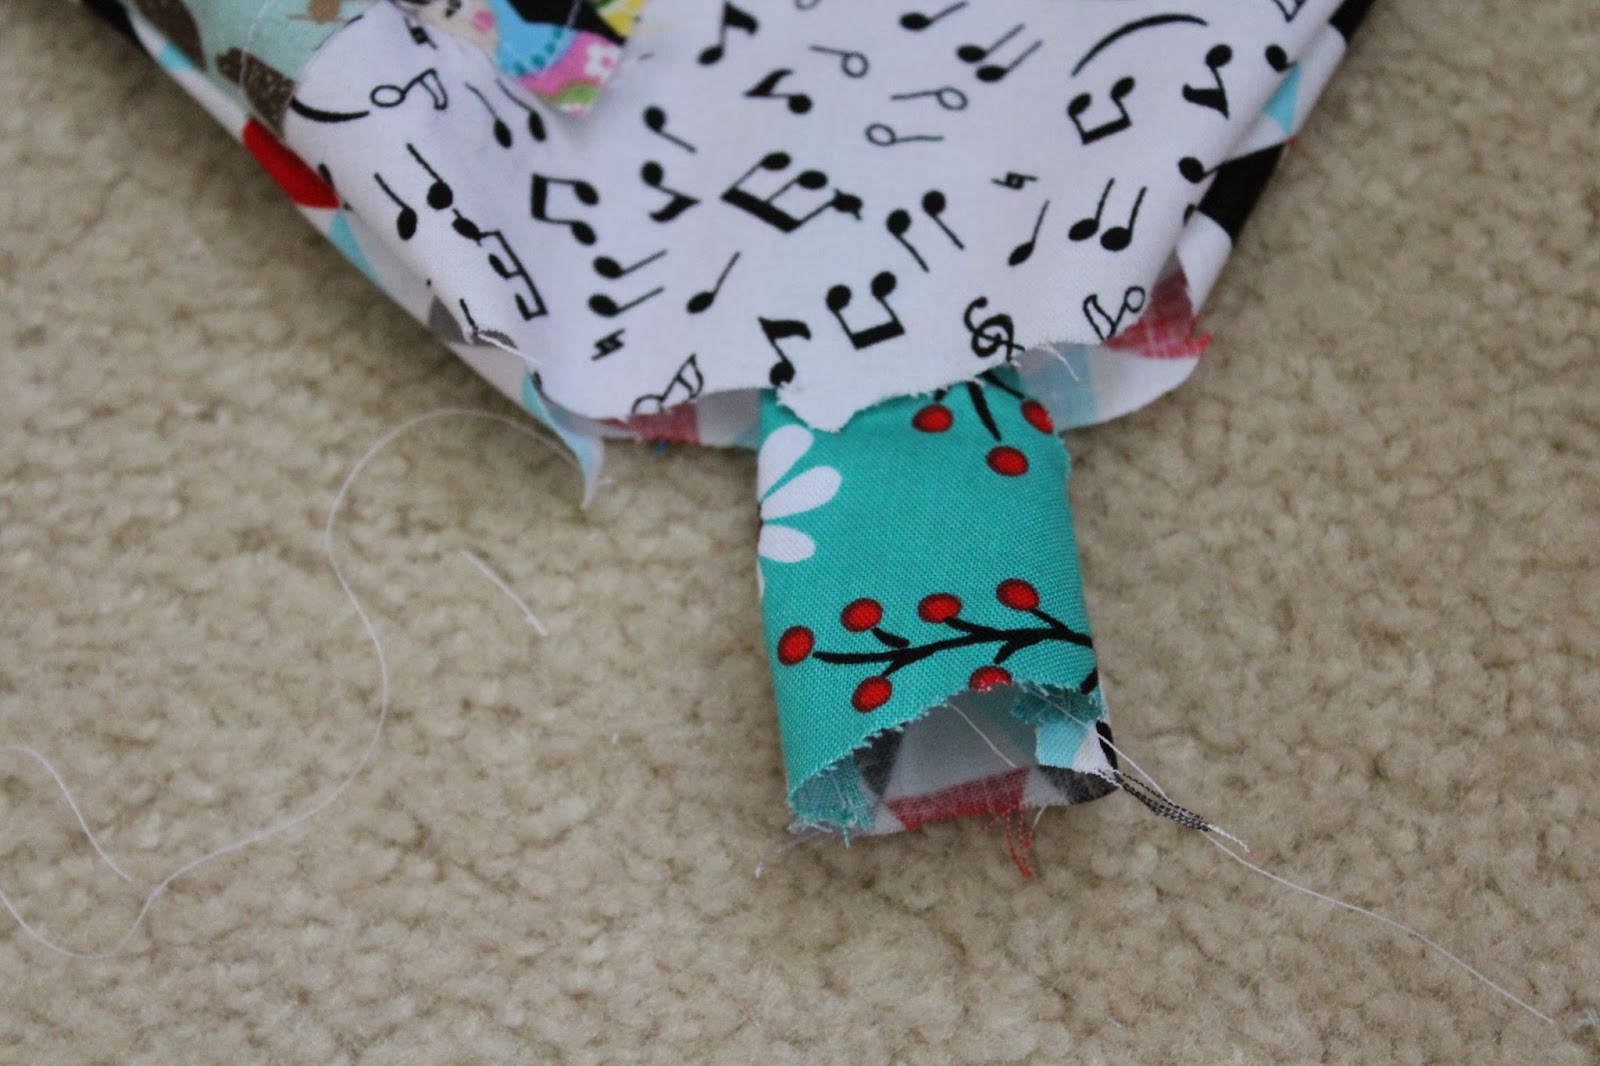
Cut FOUR same sized strings. Then, slip them into the bottom of the triangle, and sew it closed. Go over this seam many, many times because it's the most important seam in the whole project.

Now, all you need is your basket, balloon with attached strings, duck tape, and pushpin.

First (with your parents permission of course), stick your pushpin into the wall at the desired height.

I know it's not pictured, but after doing this, you NEEEEED NEED NEED to duck tap the clip to your balloon other wise it fall very easily, so secure the clip with duck tape.

Then, tape the strings to the inside of the basket with duck tape! Use A LOT!
Now, you can hang it!

Gahh! It's so majestic!

You can flip it over for a simpler side- all one fabric.

Or, you flip back to the other side! More fun and more YOU!

Put your dollie in!

Now, while that was REALLY cool, this can't hold your doll FOREVER! So when your not playing, Remove the pushpin and place it at a lower height so the basket is touching the floor.

Here are some shots with flash. :)


Now, storing it is SUPER easy!

Remove the pushpin, place it in the box, and the place your balloon inside! Put in on the shelf and your ready to go! Want to play again? Put the pushpin in the desired location and hang the binder clip up! IT'S THAT EASY!
This would also been fun to give your friends for their birthday: Use the exact same method, but rather then "S" or whatever initial your doll's name is, you can choose your friends initial, and only put one string in, and sew up where the clip is, don't attach it to basket, and BAM! Perfect gift. :) I'm giving one to my friend on her birthday this March.
You could even take your balloon outside and pin it to a tree! You can customize it SO many ways! This project I completed all this morning, so it's fun to do on a rainy day! Like I said before, PERFECT FOR BEGINNER SEWERS!
If you do actually MAKE this, let me know!
I love my new Hot Air Balloon! Thanks Momma! :)
What ELSE do you want to see on Saige Week? We have a few other fun things planned, but YOU are the readers!
See you tomorrow!
Saige


4 lovely comments
Awesome!
ReplyDeleteThanks for taking my suggestion! Can you do a photostory?
ReplyDeleteAwesome! :)
ReplyDeleteCute!
ReplyDeleteEnter my weekly photo challenge here: http://dollpage.blogspot.com/2014/01/weekly-photo-challenge.html
I love comments and hearing what you have to say! If I find any inappropriate comments- they will not be published.